
Simplifying IoT development
|


|
|
Simplifying IoT development
|
|
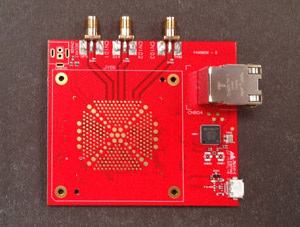
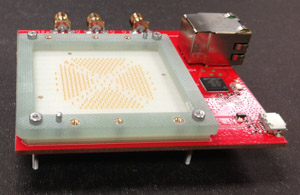
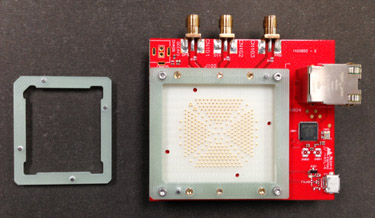
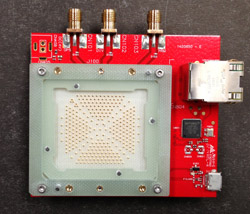
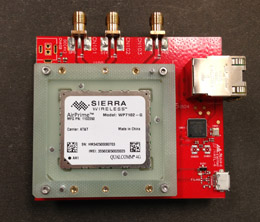
Dev Kit contents are similar to this:
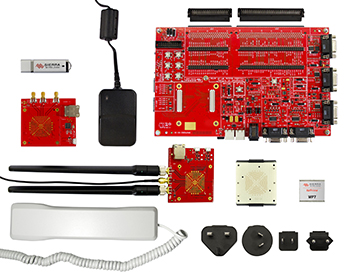
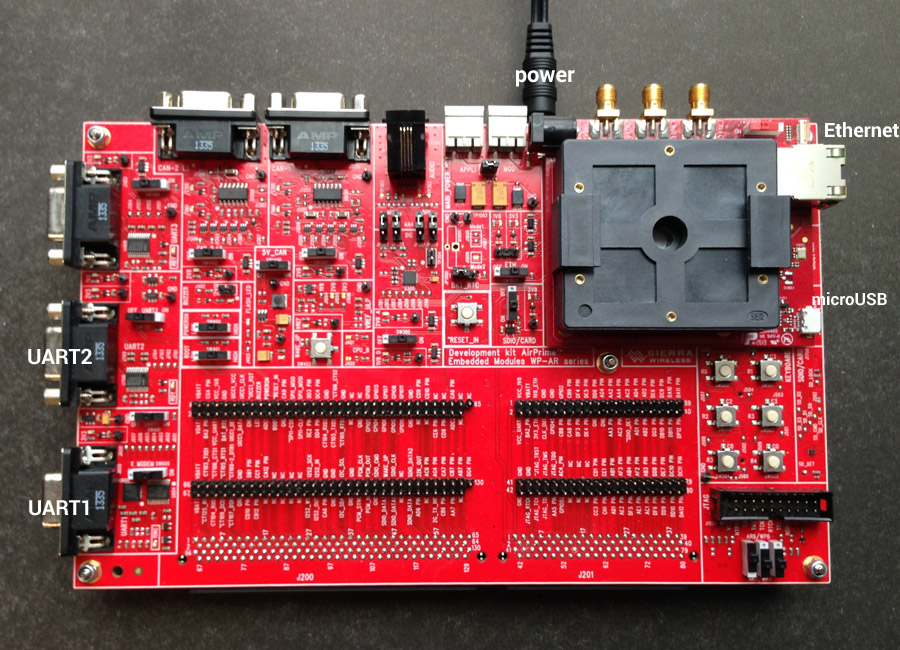
See the AirPrime – AR and WP Series-Development Kit User Guide-Re2.2.pdf for complete information about the development kit boards (available on the USB flashdrive provided with the kit.)
These instructions and photos are for an AirPrime WP7 module. Assembly for an AR7 module would be similar.
Quick start to set up a Legato development kit device
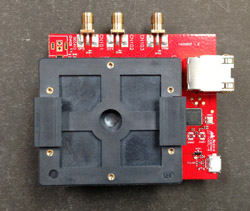
Socket module parts (in the clear plastic box):
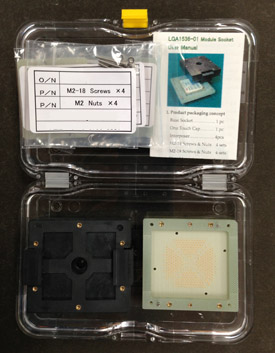
Socket board module base (base socket index on instructions from supplier) and spring loaded cap:
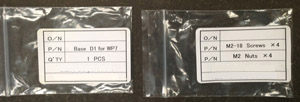
Other items - WP7 base insert and M2-18 socket board screws and nuts:
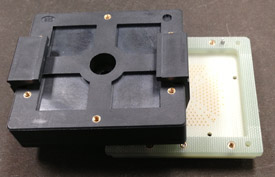
Small socket board with one microUSB port only (under main board in kit):
Attach module base to socket board:
Insert ‘interposer index’ (base insert) into the center of the base socket. Press firmly to ensure the insert is completely depressed (the insert isn’t as thick as the base; it should sit lower than the base):
Insert WP7 module into socket assembly (fit is not tight):
Gently press the spring loaded cap into place. Be careful to align one side at a time: the cap posts only fit one way (logo will be on bottom right corner). Press down the first side at the spring-loaded hinge. Then align the second side, and press and gently hook hinge into place.
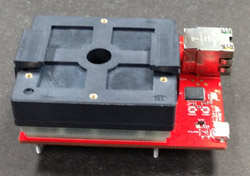
Attach the socket board to the main dev kit board using the J100/J101 board connectors: press firmly into place.
Copyright (C) 2014 Sierra Wireless, Inc. Use of this work is subject to license.